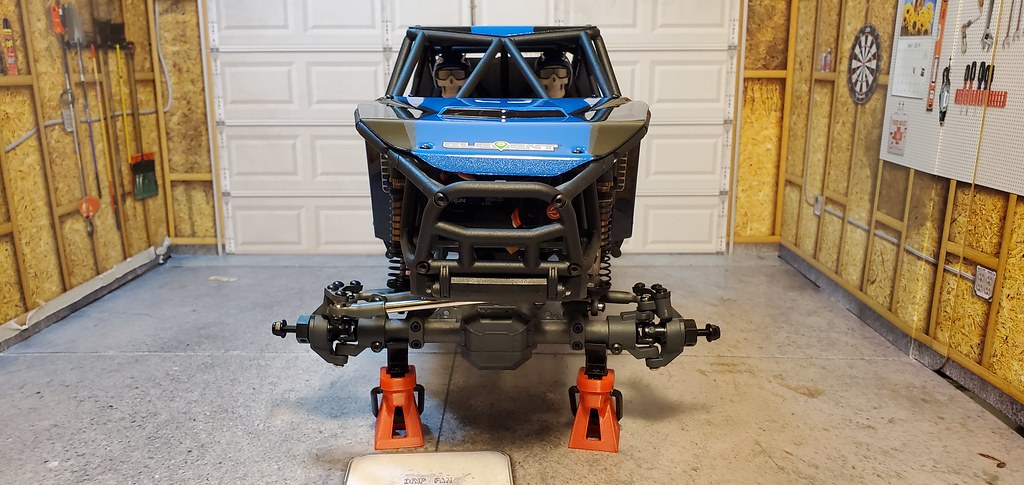
 |Rock/Scale Crawlers
Element Gatekeeper Builder's Kit Build Series - Part 6 - Cage Body and Kit Completion
Part 6: Body Panels & Cage
Alright... we're down to the finish which means you need all this stuff. Basically the body panels and bag 10.

In the following steps, I'll show what body panels are needed for the steps, but I won't actually go through with attaching any of the body panels until the very end due to painting of the panels being required.
Gate 1:
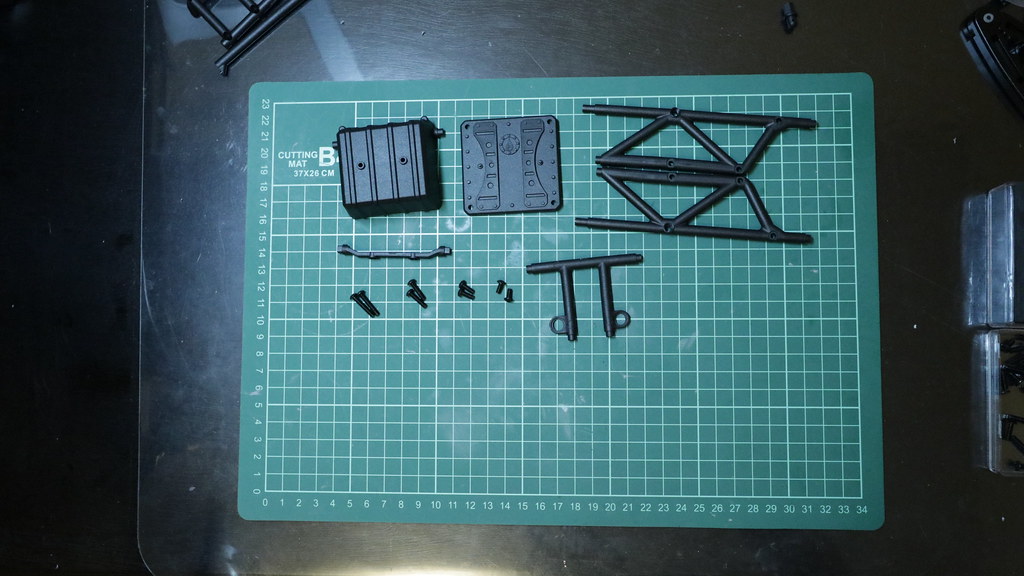
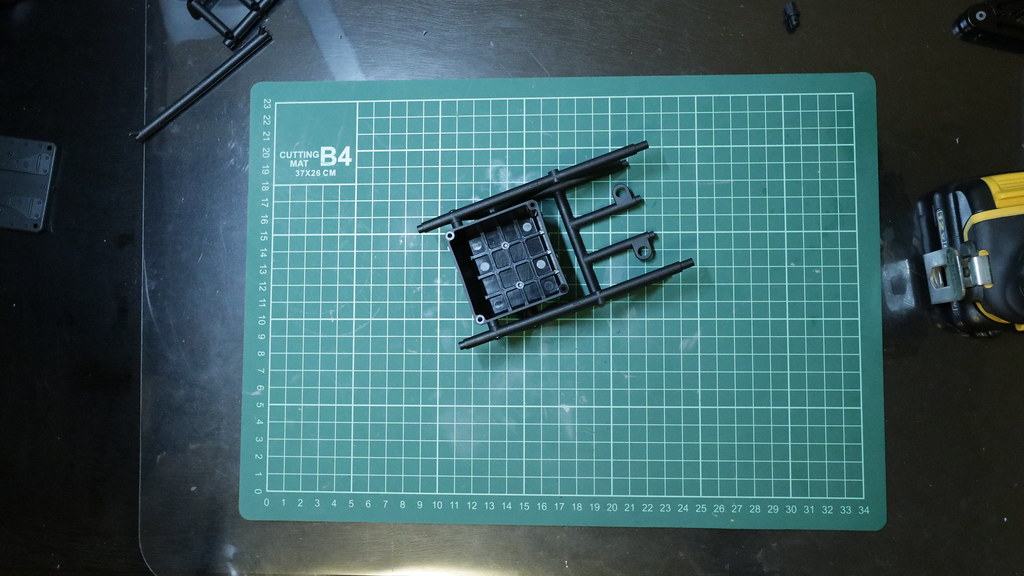
Gate 2:


Gate 3:
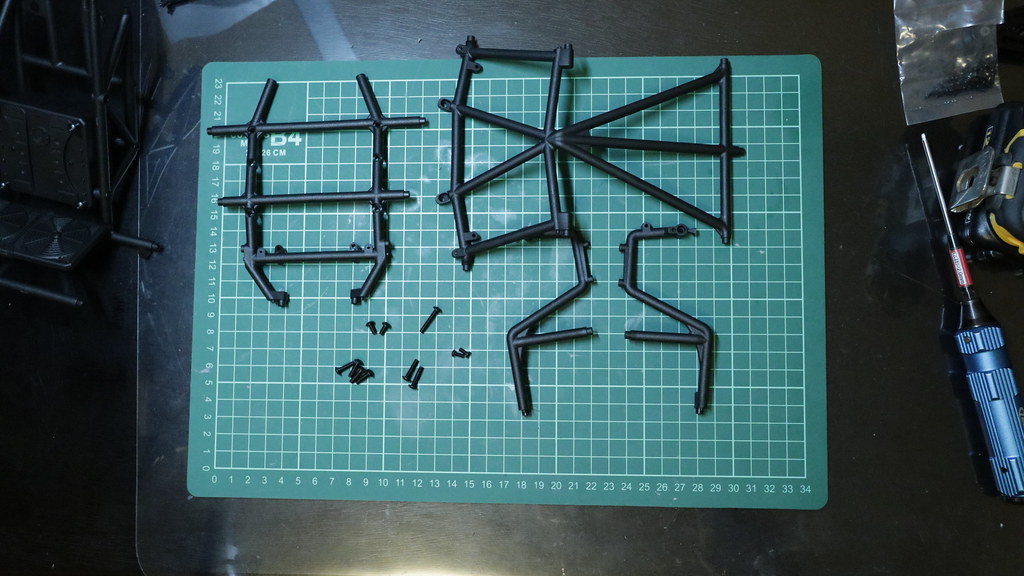
ATTENTION! Another ERROR IN THE MANUAL!!! The manual states that you need 4 m3x10mm screws to attach the hood panel to the cage. This is wrong! If you do that you will end up with the following pictures below if you fully tighten 2 of the m3x10mm screws down!


Luckily the screw didn't bust all the way through but here is what I found. I found 2 m3x8mm screws left in the remaining hardware. Nowhere in the rest of the manual were these m3x8mm screws mentioned. These must've been the correct screws to use, and the manual was not updated. So for that particular step, you'll need 2x m3x8mm screws and 2x m3x10mm screws to connect that hood area of the cage to the supports below.

Gate 4:

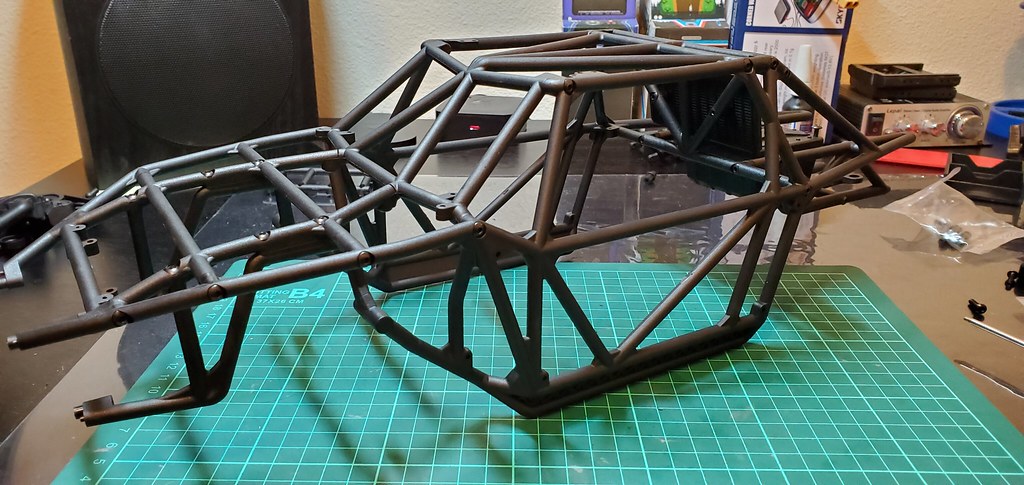


Gate 5:

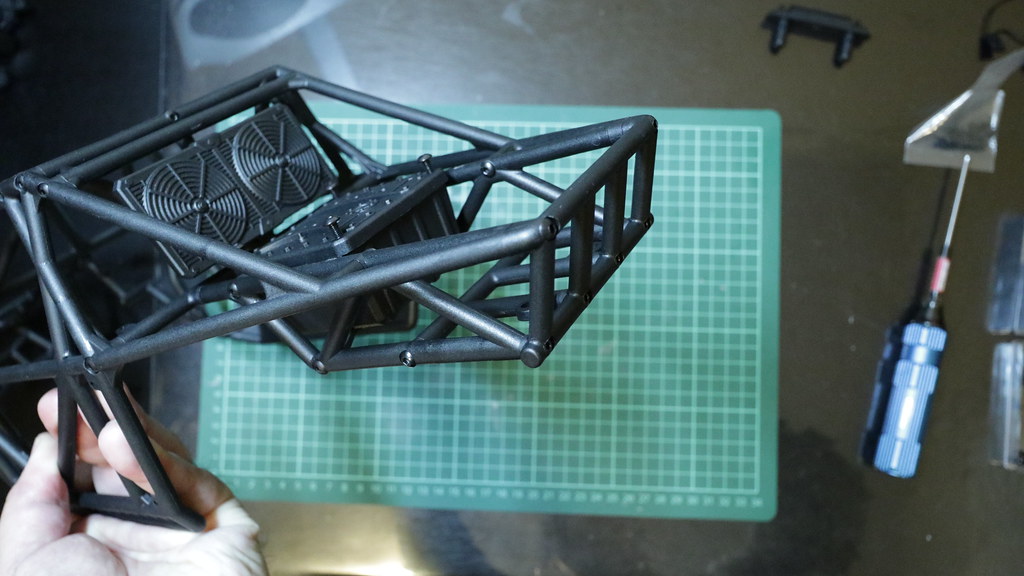

Gate 6:


Gate 7:

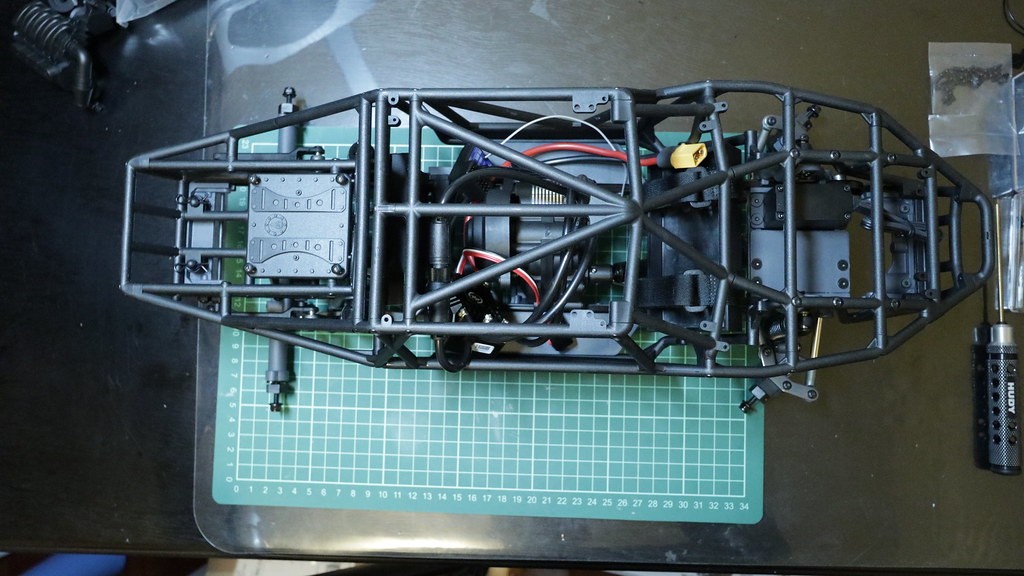


Now for the fun part the painted body panels!

Cut out a "Gozer Dog" mask for the side panels.

Going with the following Tamiya & Duratrax colors
Pearl Clear Brilliant Blue Gunmetal Metallic Black (Duratrax)

I had some leftover SMT10 skull heads so I decided to use them for this build since it fit with my theme.

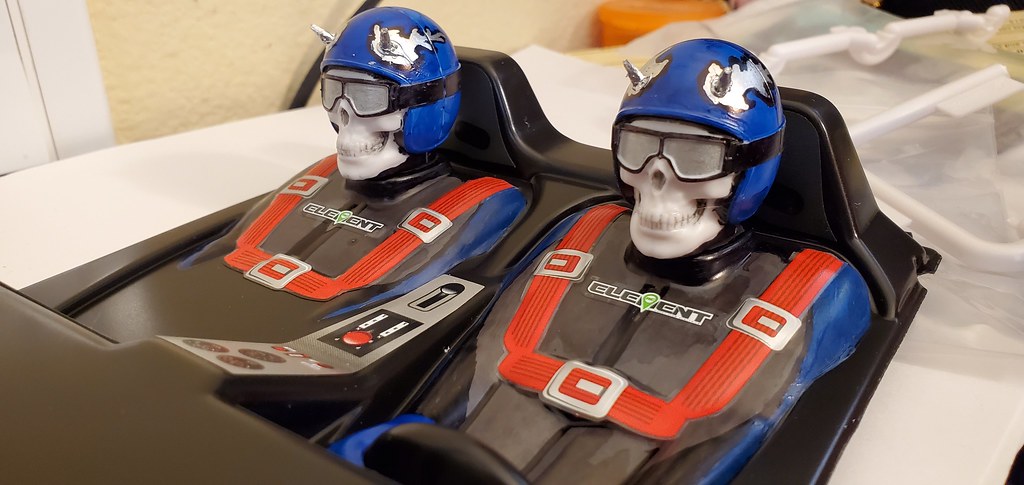


You'll also noticed I used some scrap lexan to create rear panels behind the cockpit. I think it looks much better with those panels there, and I wish it had been designed to have panels there.


