 |Rock/Scale Crawlers
Element Gatekeeper Builder's Kit Build Series - Part 4 - Links and Driveshafts
Part 4: Links & Driveshafts
Alright this step is going to probably drive you a little nuts. I mean people already hate building links. It's not an enjoyable part of the build at all. What can make this part worse? Well you can make the completed link illustration in the manual state the needed final length, BUT not be a 1:1 representation for you to compare your links with! You pretty much have to bust out your calipers after every link to measure. Would be nice if you could just quickly compare with the manual.
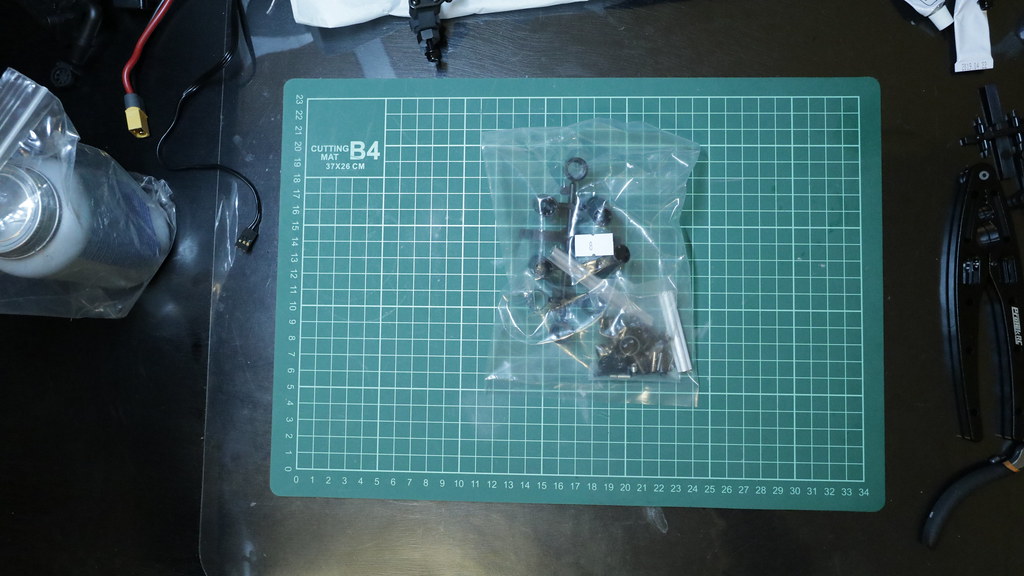
For this part you'll need Bag 7 (links) and 8 (driveshafts)

Links:
Gate 1:

You'll notice that I use my handy ProTek RC Shock pliers and the rod-end tool designed by our very own HumboldtEF of RCCrawler.com


Gate 2:


Gate 3:

Sorry this is the front upper link. I forgot to take a picture of it completed.
Gate 4:


Gate 5:
Nice thing about the Gatekeeper Builder's kit is that it comes with Factory Team parts like the high clearance links for the front lower links.


Gate 6:

Once again, forgot to take mounted picture. It'll be shown later anyway.
Gate 7:


Gate 8:


Gate 9:


Gate 10:

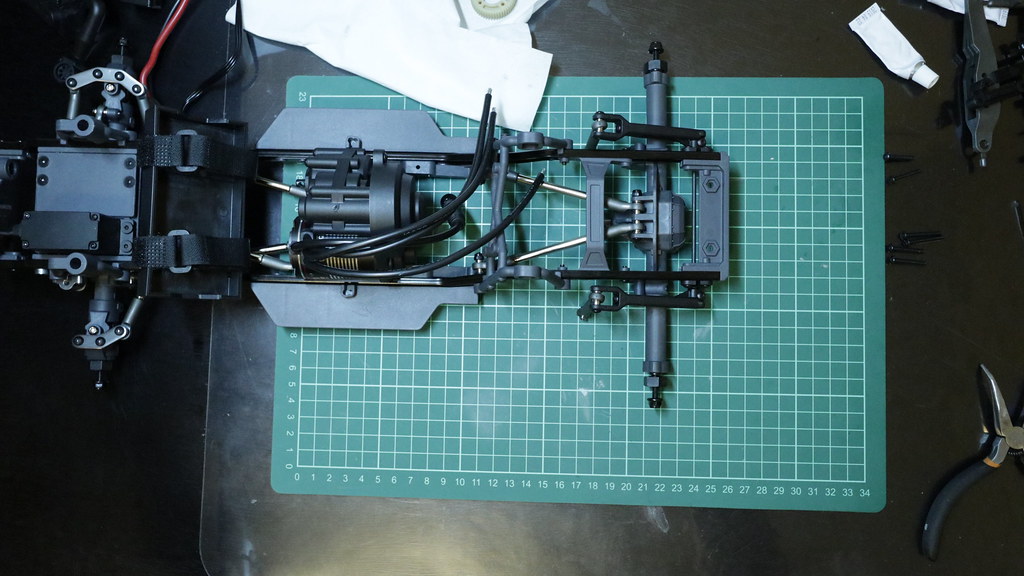
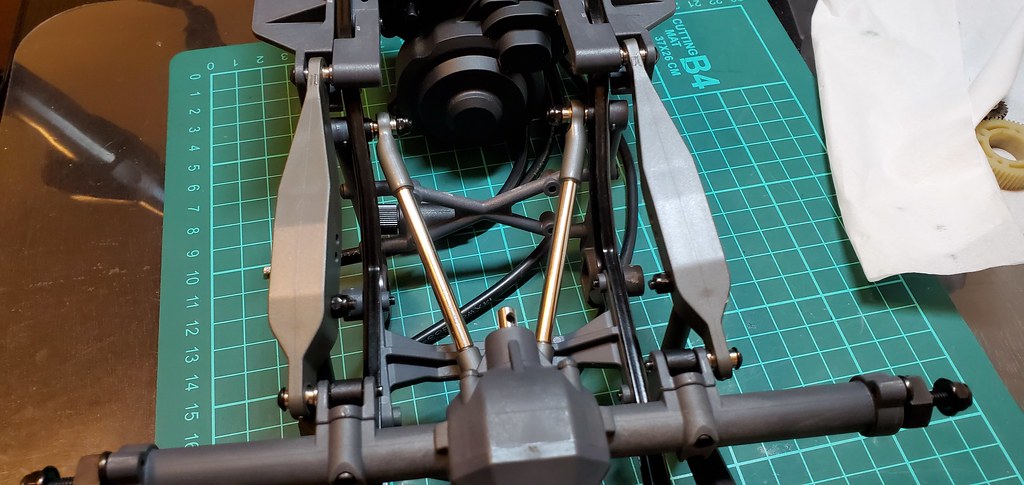
One thing to note and pay attention to here. The rear of the trailing arm is attached to the OUTSIDE of the link mount on the rear axle and not inside the link mount like a normal link. You can use the 7mm spacer provided in the spacer sprue to fill in the gap in the link mount area.


Driveshafts:
bag 8

Gate 1:


Gate 2 & 3:

